Create Amazing Web-Based AR Experience with AR.js
Introduction Of Web-Based AR Experience
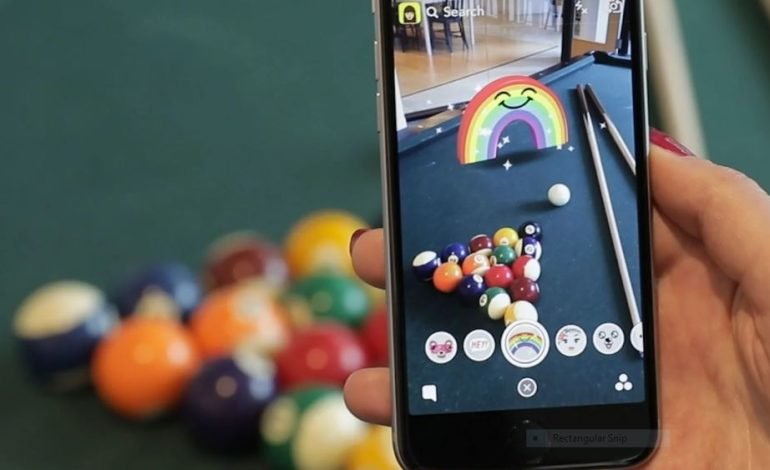
Hey developers! Are you ready to explore the wonderful world of web-based augmented reality (AR) with AR.js? This powerful, open-source library makes it easy to create immersive AR experience that run directly in web browsers. In this step-by-step guide, we’ll walk you through the process of building an example AR scene using AR.js. And don’t forget to visit InAugment.com at the end of this guide to download our free eBook, where we discuss how AR platforms can help your business grow!
Step 1: Get to know AR.js
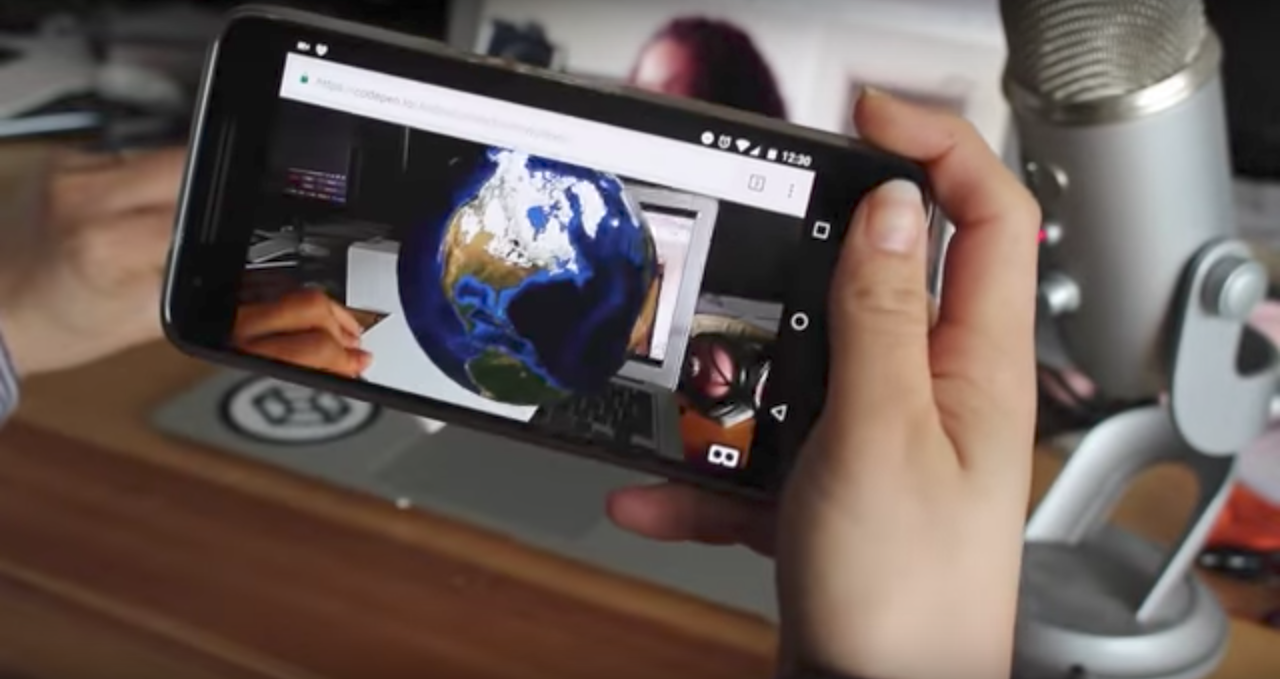
AR.js is a lightweight library built on top of A-Frame and three.js. It leverages modern web technologies like WebRTC and WebGL to deliver AR experiences across various devices and platforms. To learn more about AR.js, visit the GitHub repository: https://github.com/AR-js-org/AR.js
Step 2: Set up your development environment
To start building your AR.js project, you’ll need a code editor (such as Visual Studio Code) and a web server to host your files. You can use a local web server like Apache or a tool like Live Server in Visual Studio Code.
Step 3: Create your project folder and HTML file
Create a new folder for your project and, within it, create an HTML file (e.g., index.html). This file will serve as the starting point for your AR scene.
Step 4: Include AR.js and A-Frame in your HTML file
In your HTML file, add the following lines within the <head> section to include the AR.js and A-Frame libraries:
<script src=”https://aframe.io/releases/1.2.0/aframe.min.js”></script>
<script src=”https://ar-js-org.github.io/AR.js/aframe/build/aframe-ar.js”></script>
Step 5: Set up your AR scene
Within the <body> section of your HTML file, create an A-Frame scene and configure it for AR.js:
<a-scene embedded arjs=”sourceType: webcam; trackingMethod: best;”>
<!– Your AR content goes here –>
</a-scene>
Step 6: Add a marker
AR.js uses markers to anchor AR content in the real world. Download a predefined marker from the AR.js repository (https://github.com/AR-js-org/AR.js/tree/master/data) or create a custom marker using the AR.js Marker Training tool (https://jeromeetienne.github.io/AR.js/three.js/examples/marker-training/examples/generator.html). Print the marker on paper or display it on a screen.
Step 7: Add your AR content
Within the <a-scene> element, add an <a-marker> element to reference your marker, and place your AR content inside it. For example, let’s add a simple 3D box:
<a-marker preset=”hiro”>
<a-box position=”0 0.5 0″ material=”color: red;”></a-box>
</a-marker>
In this example, we’re using the “hiro” marker from the AR.js repository.
Step 8: Test your AR scene
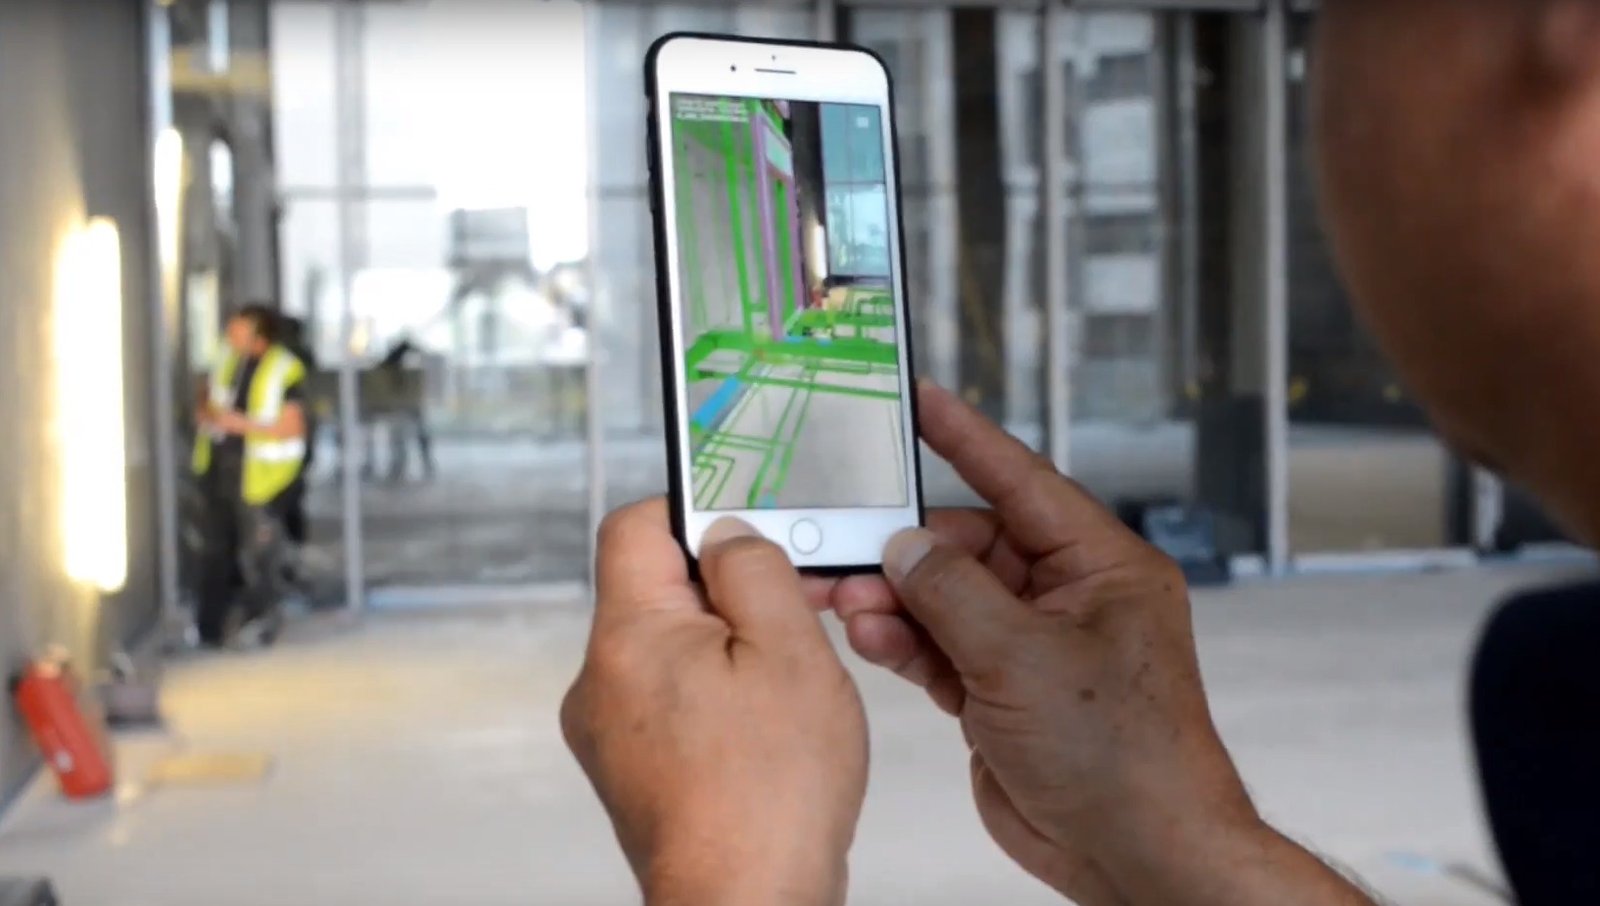
Serve your HTML file using your local web server and open it in a web browser. Point your device’s camera at the marker, and you should see the red box appear on top of it.
Step 9: Customize your AR experience
Feel free to explore the vast possibilities of AR.js by adding more complex 3D models, animations, and interactivity to your scene. Check out the AR.js documentation and examples on GitHub
(https://github.com/AR-js-org/AR.js) for inspiration and guidance.
Step 10: Deploy your AR scene
When you’re satisfied with your AR scene, deploy it to a web server or a platform like GitHub Pages, Netlify, or Firebase Hosting. This will make your AR experience accessible to a wider audience.
Step 11: Share your AR scene
With your AR scene deployed, share the URL with your friends, colleagues, or customers. They can now access and enjoy your immersive web-based AR experience without needing to install any app or plugin.
GitHub Code Examples:
To help you dive deeper into AR.js, check out these GitHub code examples:
- Basic AR.js example with A-Frame: https://github.com/AR-js-org/AR.js/blob/master/aframe/examples/marker-based/basic.html
- Animations and interactivity: https://github.com/AR-js-org/AR.js/blob/master/aframe/examples/marker-based/animation.html
- Custom markers: https://github.com/AR-js-org/AR.js/blob/master/aframe/examples/marker-based/custom-marker.html
- Loading 3D models: https://github.com/AR-js-org/AR.js/blob/master/aframe/examples/marker-based/3d-model.html
Conclusion:
Congratulations! You’ve successfully created an engaging web-based augmented reality experience using AR.js. This step-by-step guide has shown you the power and versatility of this open-source library, and you’re now well-equipped to create immersive AR experiences that run directly in web browsers.
Don’t forget to visit InAugment.com and download our free eBook, where we discuss how augmented reality platforms can help your business grow. By harnessing the power of AR, you can unlock new opportunities and take your company to new heights. Happy creating!
